|
Seal a dataset |

|

|
|
|
Seal a dataset |

|

|
Seal a dataset
To seal a record you have to switch to the list outlook. By clicking on a record with your right mouse button you can open the context menu. Choose the menu item "seal" in the context menu to add a seal.
![]()
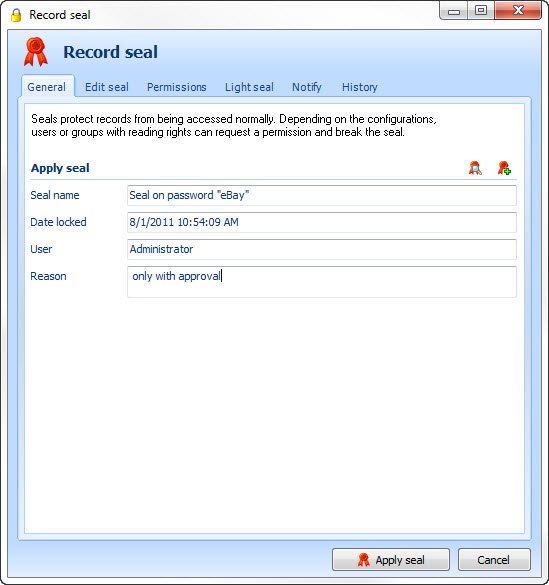
After pushing the button an entry mask opens. Enter the reason for the sealing of the dataset in the "general" array. Then change to the tab "edit seal".
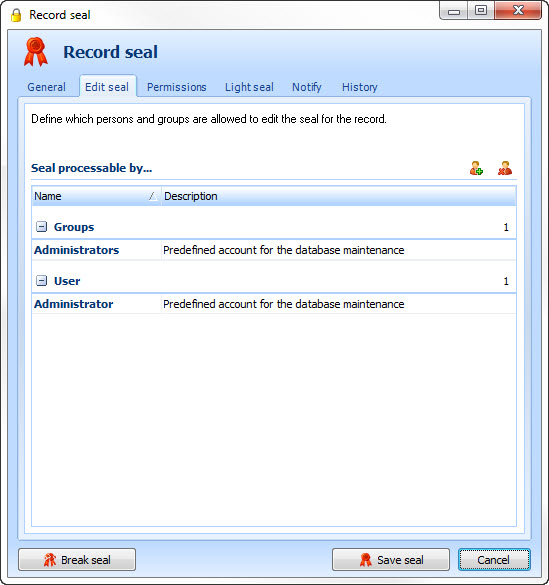
In the tab "edit seal" you can define which users or groups are allowed to delete the seal without unblocking. If you do not want to set up a four-eyes or multiple-eyes principle you can seal the dataset with "add seal". For the set-up of the four-eyes-principle change to the tab "unblockings".
Seals can be saved via releases optionally. So you can decide which users or groups do have to agree in order that the seal can be broken and the data can be seen. Only after breaking the seal the dataset can be seen and used by a certain person. Click on set up seal after the configuration in order to seal the dataset.
You can also use several releases for a seal. Then they will be processed hierarchically, that means bottom-up. So you for example have got the possibility to get the releases of the department manager first before the release of the management board is needed.
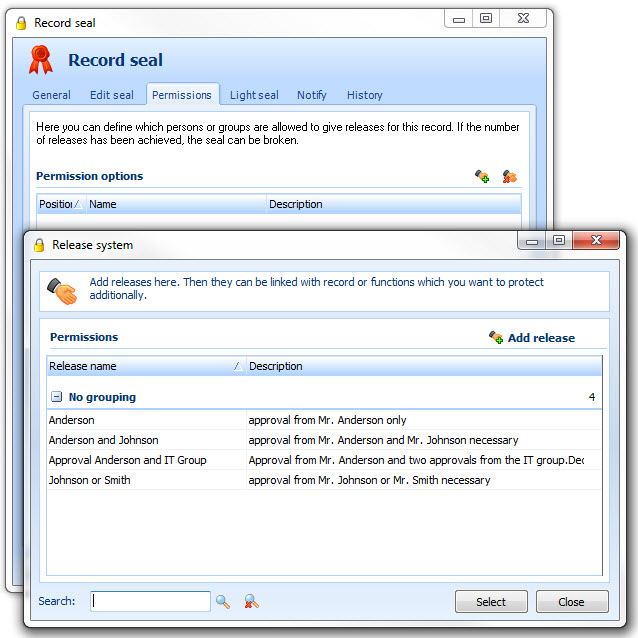
Via a click on the icon ![]() the release system opens. Here you can select one of the deposited releases and safe the seal with it. If no accordant release should be available a new release can be started via add release. The creation and management of releases is described in detail under releases.
the release system opens. Here you can select one of the deposited releases and safe the seal with it. If no accordant release should be available a new release can be started via add release. The creation and management of releases is described in detail under releases.
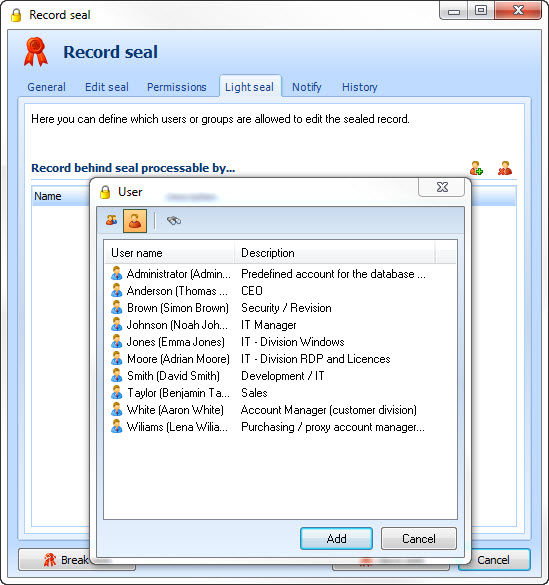
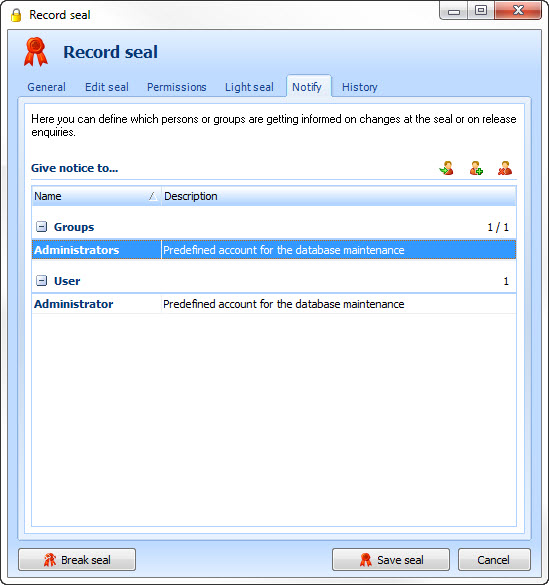
Here you can define which users and groups are messaged if the seal has been changed or a release has been required.
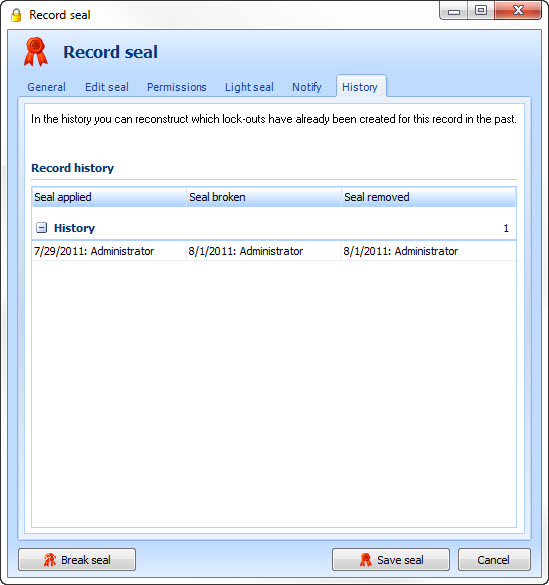
Via the history you can reconstruct at any time, which locks have been created for this dataset in the past. The history contains the points of time in which a seal has been started, broken or deleted. The executing user is displayed as well.
