|
Creating the master and slave databases |

|

|
|
|
Creating the master and slave databases |
|
|
Creating the master and slave databases
|
Creating the master and slave databases |
|
|
|
|
Creating the master and slave databases |
|
|
First of all set up one Enterprise server on two Windows server systems. You can find information on that in the chapter setup assistant. Afterwards create a master database on the productive server as described in the chapter start new database. For safety reasons the database should be stored on the accordant machine locally. In order to enable access on the database configure the firewall afterwards.
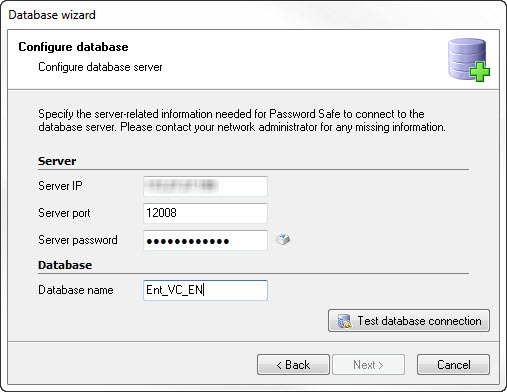
In the next step a slave database is created on the backup server. To do so call up the database assistant on the homepage via start new database and choose the item start new slave database (high availability) here. In the following dialogue please enter the connection data of the productive server (master database), in order that Password Safe can access the master database and can create a copy of it. This could look like that:
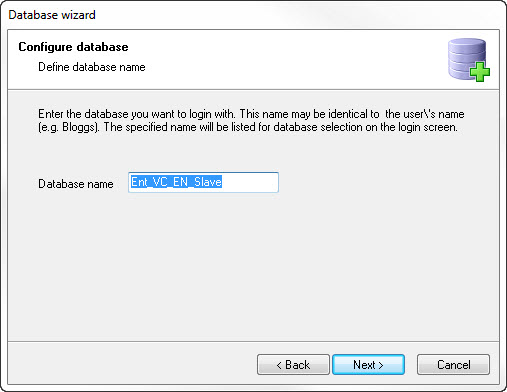
In the following window please give the slave database a significant name:
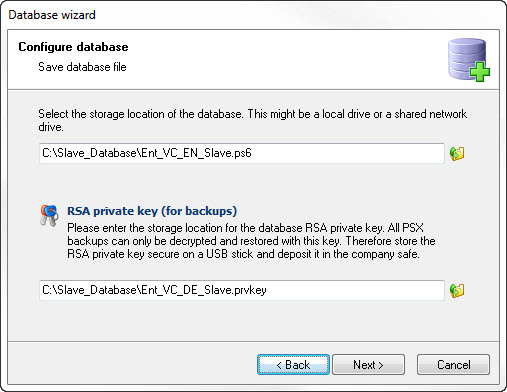
Store the slave database locally on the backup server for safety reasons:
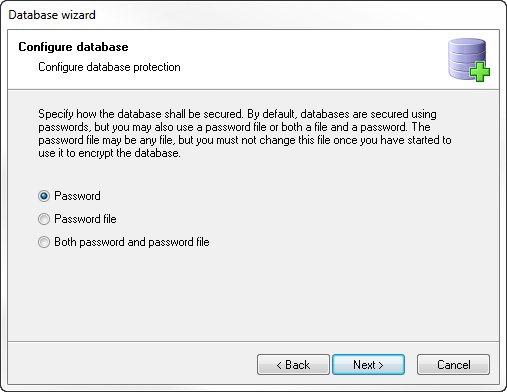
In the next step, you choose the type of encryption of the database:
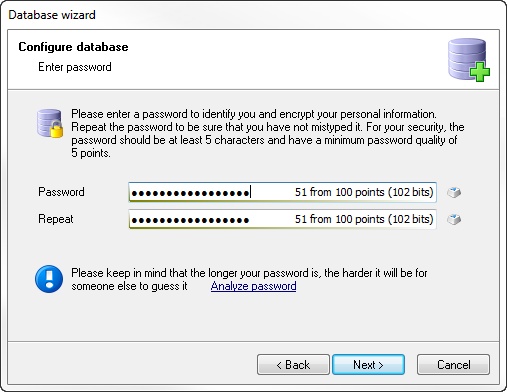
Please enter the password for the database
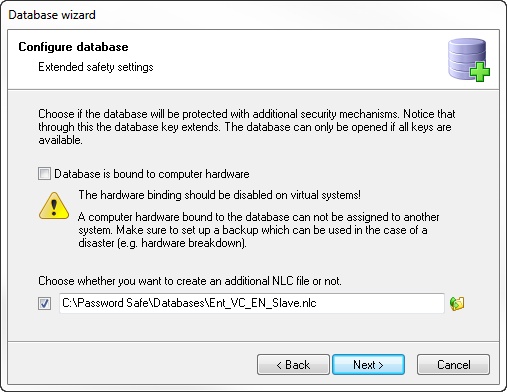
Now you can decide whether you want to bind the database to the hardware. Please note that the database can´t imported on any other machine, with that option!
Likewise, you can directly create a Network Logon file.
To complete the wizard, you must lgoin with a valid user account on the master database, to allow the slave database the access to the data. Ideally, use the Administrator account for this.
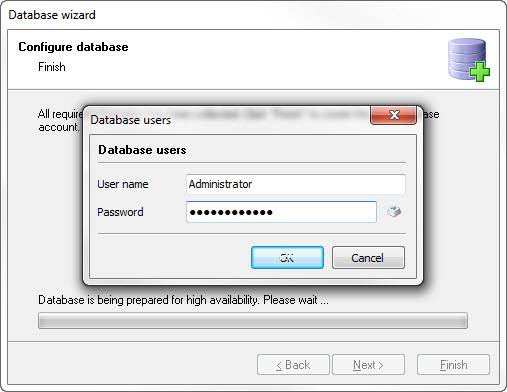
The slave database now will be created. Because it´s a one-to-one copy, this process can take several minutes, depending on the database size.
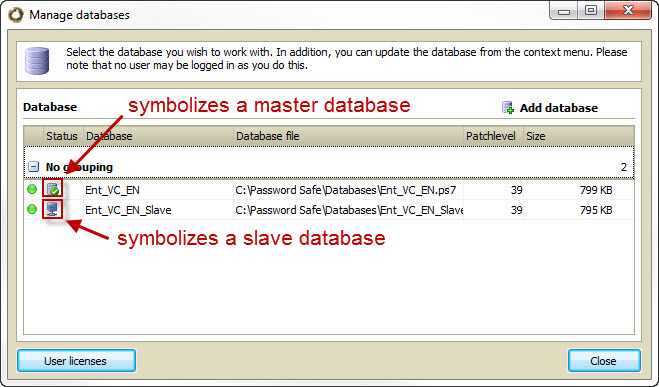
In the database list the newly created slave database is displayed as follows:
If the firewall should be activated, the firewall rules have to be configured. Here the IP address of the backup server has to be released. In order to always keep the slave database updated it is necessary to configure its synchronization. This is described in detail in the chapter configuration.
IMPORTANT: - The clients must not work on master and slave databases at the same time! - Because the synchronization service is running on the taskservice, it must be configured and started. See the chapter: Task Service |
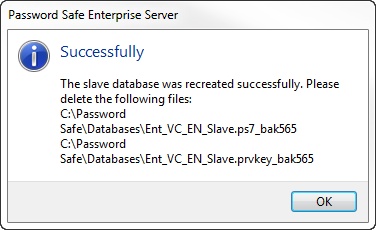
Create slave database new
By right-clicking on a slave database, you can choose from the context menu Recreate Slave Database. With this menu item, you have the option of creating your slave database new. This will open the Database Wizard, which you will follow. At the end of the rebuild will you will get a message that the old database and the associated *.prvkey were renamed and should be deleted. The corresponding paths will also be displayed: